Showing posts with label tasteful tuesday. Show all posts

Tuesday, February 15, 2011

Tasteful Tuesday: Featuring "Mrs. Bettie Rocker"


A few months ago, I accidentally ran across Mrs. Bettie Rocker.  And, oh.  my.  goodness.  Her recipes are I-N-C-R-E-D-I-B-L-E.  And the pictures she posts along with her recipes are so good that you could swear her savory dishes and delectable treats are sitting on a plate right in front of you.  Here's a picture from her lastest post: Sugar Cookie Truffles.


How can you not want to make these now?!  Check out her blog, and then make some of her treats.  You won't regret it!

Photobucket

Tuesday, February 8, 2011

Tasteful Tuesday: PB Filled Chocolate Chip Cookies


Is your mouth watering yet?!  Are your eyes tearing up at the thought of such a majestic duo?!  I think you're going to love/hate me after you've read this.  You'll love me because these are to-die-for.  You'll hate me because these are to-die-for.  Seriously.

So this is how these happened.  My friend Jessica found these delicious cookies, and we decided to try them.  She then found some other cookies filled with peanut butter (not chocolate chip ones) and wanted to try them too.  We tried the Oreo ones Sunday night - incredible.  Brought tears to my eyes.  So we decided to try the pb ones last night with the left over dough.  Here's what we got...

*Disclaimer: The KC Experience is not responsible for any unwarranted weight gain after the consumption of these desserts.  However, we will take responsibility for any bliss experienced during or post-cookie-consumption.*

PB Filled Chocolate Chip Cookies
(inspired by the genius of Jessica Huckaby)


What you'll need:
  • Chocolate chip cookie dough
    • I suggest using this recipe for the dough.  I used the recipe on the back of the chocolate chip bag, and they spread way more than I wanted them to spread.  The ones from the link didn't seem to spread  much at all.  
  • 1/2 c peanut butter
  • 1/2 c granulated sugar
  • Baking sheet
  • Parchment paper or foil
  • Oven - obviously

What you'll do:

Make the dough.  This is part of what I had leftover from the previous night.  


Take your peanut butter and sugar (in a separate bowl), and mix them well.


Make a "dough cookie" in your hand and dab a dollop of your delectable peanut butter/sugar mixture right in the middle of your dough patty (I couldn't resist using the alliterated d's - sorry).  


Enclose the peanut butter with the dough, and form it into a ball.  Stick it on your cookie sheet and bake according to the dough recipe you used (pretty much until they're barely brown).  Let them sit on the tray for a couple of minutes, and then let them cool on a cooling rack - assuming they make it that far once you get a whiff of these amazing treats!


Now you just have to enjoy them, which won't be hard - I promise.  :)  


Tuesday, February 1, 2011

Tasteful Tuesday: Valentine's Marshmallow Treats


Happy February!  I love February - not so much because of Valentine's Day, but mostly because it's my birthday month.  :)  Today I have a "treat" for you - pun intended.  I decided to make some marshmallow treats and jazz them up a little for Valentine's.  Hope you like them!


"Valentine's Marshmallow Treats"


What you'll need:
  • 4 cups of mini marshmallows
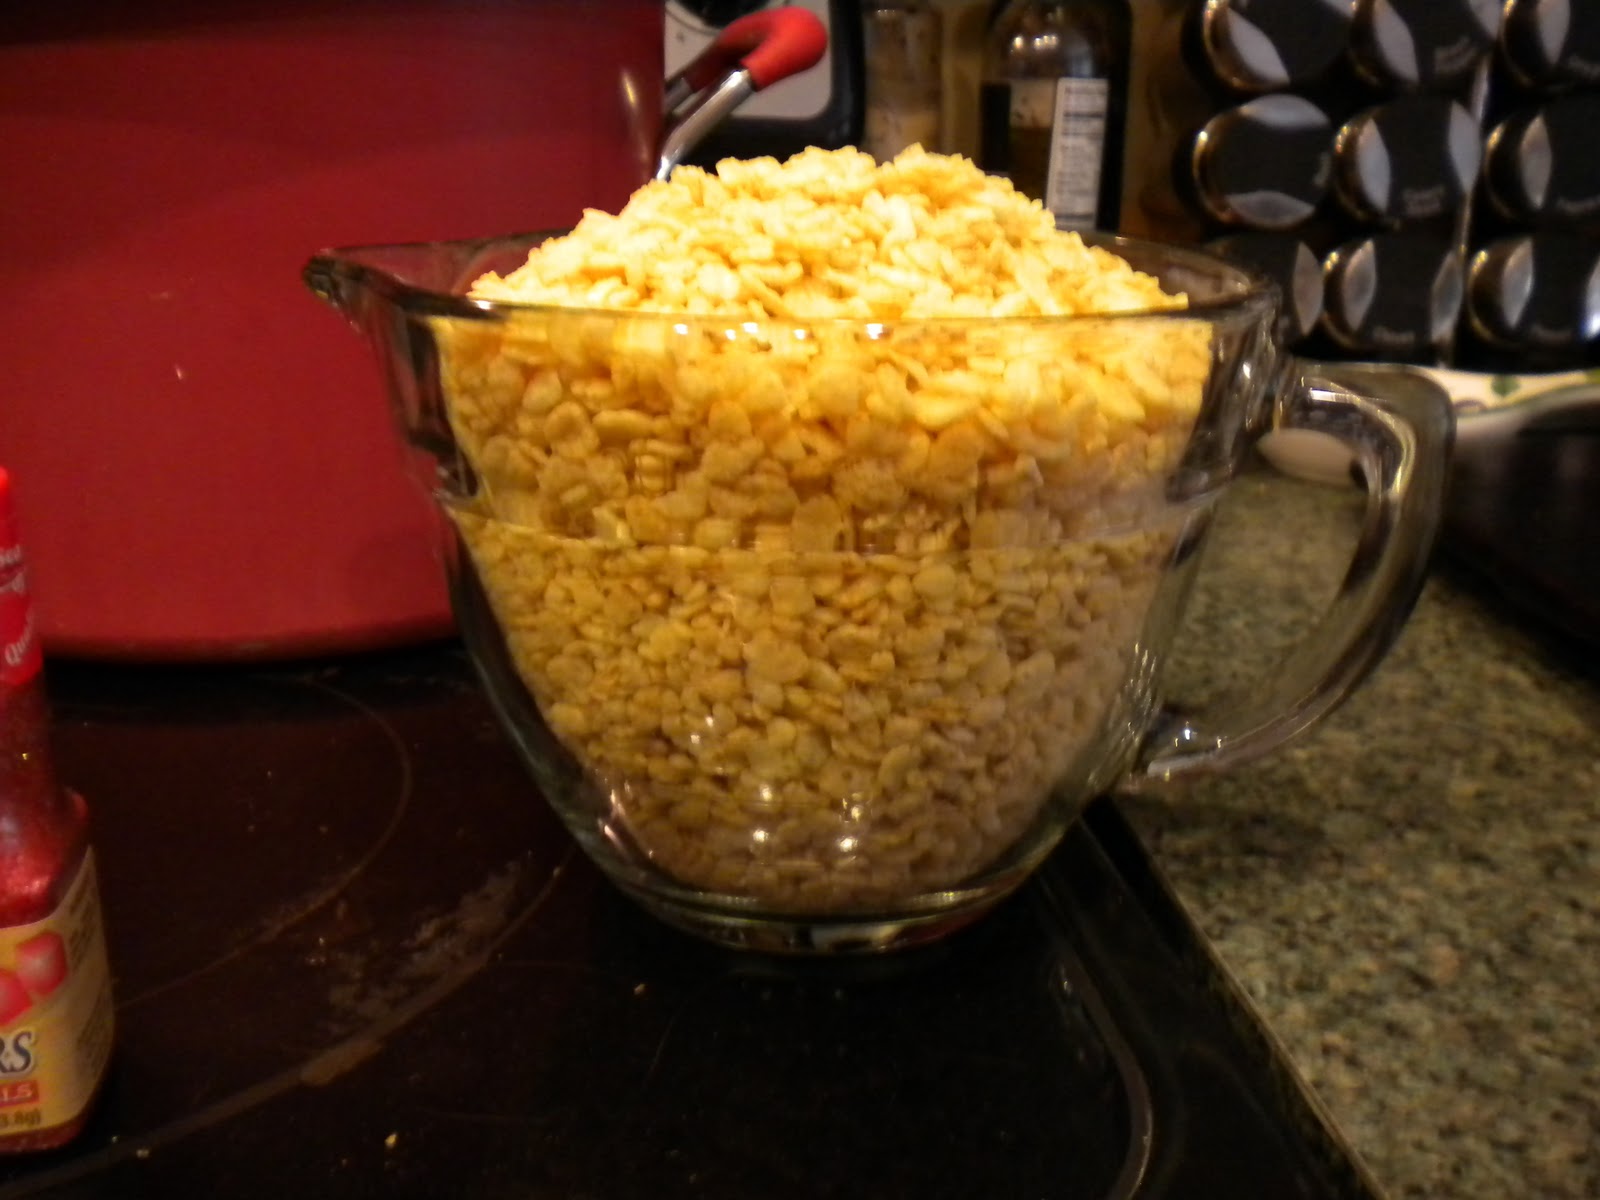
  • 5 cups of crispy rice cereal
  • 1/4 cup of butter + a little extra to grease your pan
  • 9x13 in pan
  • Red food coloring
  • Red sprinkles
  • 1 square of chocolate flavored almond bark
  • Foil or wax paper
  • Heart cookie cutter
What you'll do:

First thing's first - rub down your pan with some butter.  Make sure the bottom is covered.  The sides don't matter so much.


Melt the 1/4 c of butter on low heat and then add the marshmallows, stirring often until they're all melted.


While your marshmallows are melting, measure out your cereal.  


Once your marshmallows are completely melted, add your red food coloring.  I used 10 drops.


This is what mine looked like...sort of.  It actually turned out a lot more pink than this pic gives it credit, which is what I wanted.


Take your pink marshmallows off the heat, add your cereal quickly, and then spread into your buttered pan.  Use the back of a rubber spatula (not a wooden spoon - doesn't work too great) to flatten out your treat.  Then sprinkle the top with the red sprinkles.  It should look something like this.  


Allow your treat to cool completely.  Once that's done, slide the marshmallow treat onto a piece of foil or waxed paper.  It should slide out pretty easily if you buttered it.  Use your cookie cutter to cut out hearts from your sheet of treat (I should make a profession out of rhyming).  :)


I managed to get 12 heart treats out of the 9x13 pan with a bunch of scraps.  I'm not sure if there's a way to position the cookie cutter to get more, but I tried my best (feel free to let me know if you have a good method).  


Next, melt your chocolate square in a microwave safe dish and drizzle over your hearts.  I decided to only do half of my hearts with chocolate.


My favorite step is next - eat 'em up!!!  I think these would also be pretty neat as a bouquet of treats - just add a cookie stick or lollipop stick and stick them in a pot with styrofoam in it.  Mine didn't it make it that far...I saved 2 for Matthew and took the rest to my small group leaders' meeting on Sunday night, where they were definitely enjoyed!  Hope you enjoy them too!


Tuesday, January 25, 2011

Valentine's Popcorn


One of my favorite blogs - Sumo's Sweet Stuff - recently posted a tutorial for Valentine's Popcorn that is absolutely to die for!  And I thought I'd share it with you!

I'm not going to post the entire tutorial since she has it on her blog.  But I thought I'd post my pics of the process and tell you what I did differently from her tute:

  • I used all the same ingredients except for the M&Ms and the Ju-Ju hearts - I used Peanut M&Ms, instead of regular, and completely left out the hearts. 
  • Instead of adding the M&Ms in the beginning, I waited until I had the popcorn coated with the vanilla almond bark added some in, and then I added even more after I spread it out on my work space.
  • I also enlisted the help of a good-looking boyfriend.  ;)

And those are the only differences!  It turned out super duper yummy, and I can't wait to share it with our Nursery and Children's Ministry teams as a take-home goodie at our pancake breakfast in a couple of weeks!


Bon Appetit!


Anything Related

Tuesday, January 18, 2011

Valentine Dipped Fortune Cookies & Take Out Box


Since this weekend was a three-day weekend (for me anyway), I decided to combine "Made for Monday" and "Tasteful Tuesday" into one post!  Today's post is a duo craft/recipe.  I hope you enjoy it!

"Valentine Dipped Fortune Cookies & Take Out Box"


What you'll need:
  • Fortune cookies - I scored mine at the local Dollar Tree for $1 (obviously).
  • Vanilla flavored almond bark
  • Cinnamon chips - like chocolate chips, but cinnamon
  • Sprinkles - I chose red for Valentine's
  • Foil or wax paper
  • Cardstock - for the "take out" box
  • Double-sided tape or glue
  • Pencil or pen
  • Scissors
What you'll do:


Unwrap all of your fortune cookies, if they're individually wrapped, which mine were.


Melt your almond bark 30 seconds at a time, stirring between each interval, until melted.


Dip half of the fortune cookies in the melted almond bark and set on wax paper or foil.  


Immediately sprinkle and allow to dry.


Now melt your cinnamon chips just like you melted your almond bark - then dip the other half of the fortune cookies in the melted cinnamon chips.  Work quickly because the cinnamon chips, for whatever reason, don't stay smooth for very long.  Again, cover these with sprinkles immediately.  


*Side note: This is what happens when you add food coloring to melted almond bark (aside from the horrible lighting - sorry).  This is the reason I decided to use cinnamon chips: I ruined the rest of the almond bark and had cinnamon chips on hand.  Definite blunder.  Live and learn, my friends!*


Here's what your cookies should look like, for the most part.  :)  Delicious.  And that's the recipe!


Ok.  So now onto the craft!  I wanted to make a "take out" box for my fortune cookies since the original one is pretty lame.  So I tore it apart and laid it out.  It was too big to fit on one piece of cardstock, so...


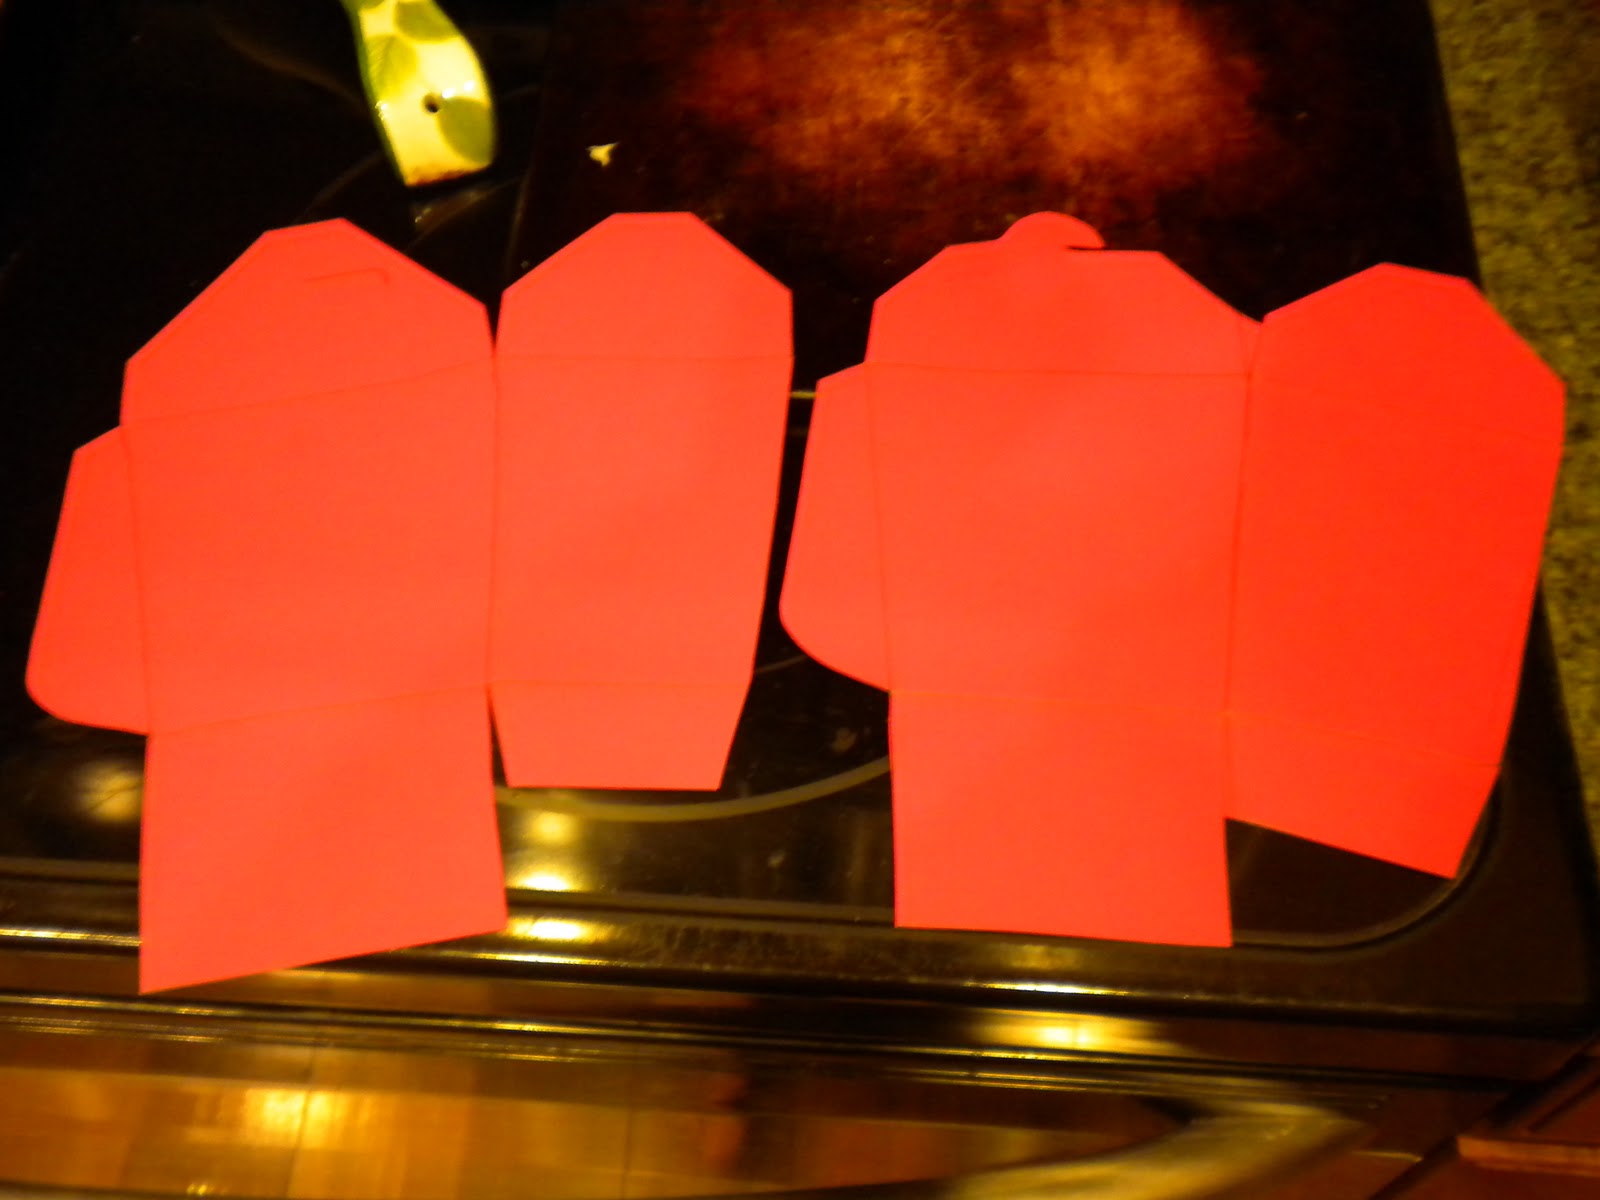
I cut it in half so that the two pieces were almost identical, as you can see.  Then I traced them onto 2 pieces of cardstock.  Since I had to attach the 2 pieces back together, I added a "wing" on the second piece in the same place as the first piece.  


I then cut the pieces out.  Hopefully you can see where I added the wing onto the piece on the right side of the picture.  You can't see from this picture, unfortunately, but I drew lines where each fold will be.  You don't have to do this step, but it made it a lot easier for me to determine where to make my folds.  


I made my folds and then attached  the pieces together, using the original box as a guideline. I used Scrapbook Adhesives to attach them instead of double-sided tape.


I put tissue paper in the inside and then plastic wrap on top of that and put my fortune cookies inside and covered them with the plastic wrap.  Then I closed the box, added the handle, a note about what's inside, and  a few other embellishments.  I'm pretty satisfied with how it turned out, and I hope the recipient loves it!

Happy creating!


Sumo Sweet Stuff

All Thingz Related

lil luna link party button