
I whipped up this cutie in about an hour and with supplies I had on hand. It's now gracing our entertainment center. Love it.
So here we go...
Materials:
Burlap
Twine
Scissors
Needle with large eye (not quite yarn size, though)
Hot glue gun
Ironing board & iron (optional)
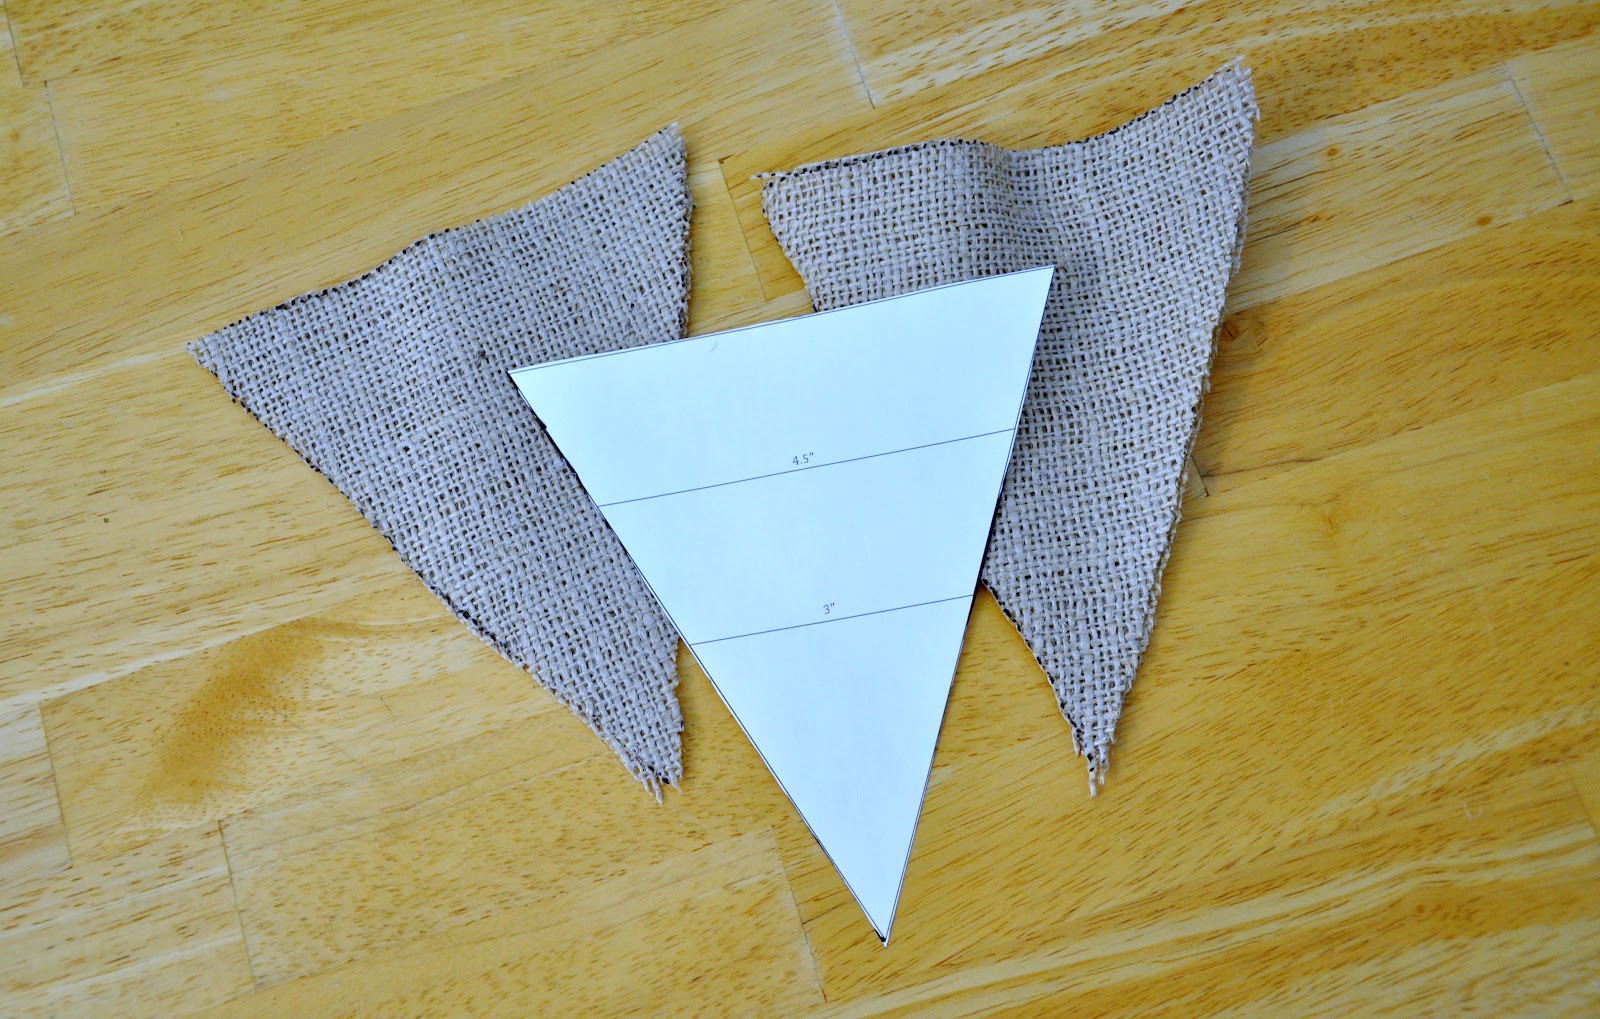
First thing's first, cut out whatever size triangles you'd like to use. I found this perfect template on Pinterest earlier today and used the 6" size (next to biggest). I decided I wanted 5 triangles to hang from the twine, so I cut 10 triangles. This step isn't technically necessary, but I wanted it to look a little more sturdy.

Next step is to hand stitch the triangles together, making 5 total. If you decide not to make yours double thickness, you can just hand stitch around the perimeter to get the same look. Personally, I love the look of the twine stitching.

My triangles were quite wrinkly because my burlap stash has been folded up in storage for a while now. So - if yours are like mine - run a quick iron over them just so they lie flat (mine didn't take much time at all, just a few seconds each).

Using more of your twine, string the triangle flags together and decide how long you want it to be and how far apart you'd like your flags to hang. I just eye-balled it because I am too lazy to measure.

Once you figure out how you'd like them to hang, hot glue the twine in place on the back of each flag in the corners. I'm pretty sure this step can be skipped, but I wanted to make sure mine stayed put. (PS - I had a fun time figuring out how to take this picture because I'm not left-handed and needed my right hand to click the camera button.)

Last thing to do is hang it! I used some mason jars, dollar tree glass stones, and candles from one of my bridal showers that we had around our house to hang ours. Unfortunately, the lighting in our living room is pretty lousy, so I don't have any pics of it hanging from the entertainment center. I figured the deck out front would do for pictures though. :)
I might embellish them later on for the different seasons using some velcro so that I can interchange them for each season, but I'm undecided on that. Either way, it has added a nice touch to our living room!


