Showing posts with label burlap. Show all posts

Friday, September 27, 2013

Fall Wreath 2013 and Wall Bunting

With the onset of Fall, I always seem to want to craft more.  Maybe because I love the season so much.  I don't know.

Either way, today - my day off - has been FULL of crafting.  And I feel so rejuvenated!

The first project to share, and the main inspiration for getting into the crafting mood is the wreath I made for our door.  I am LOVING it!


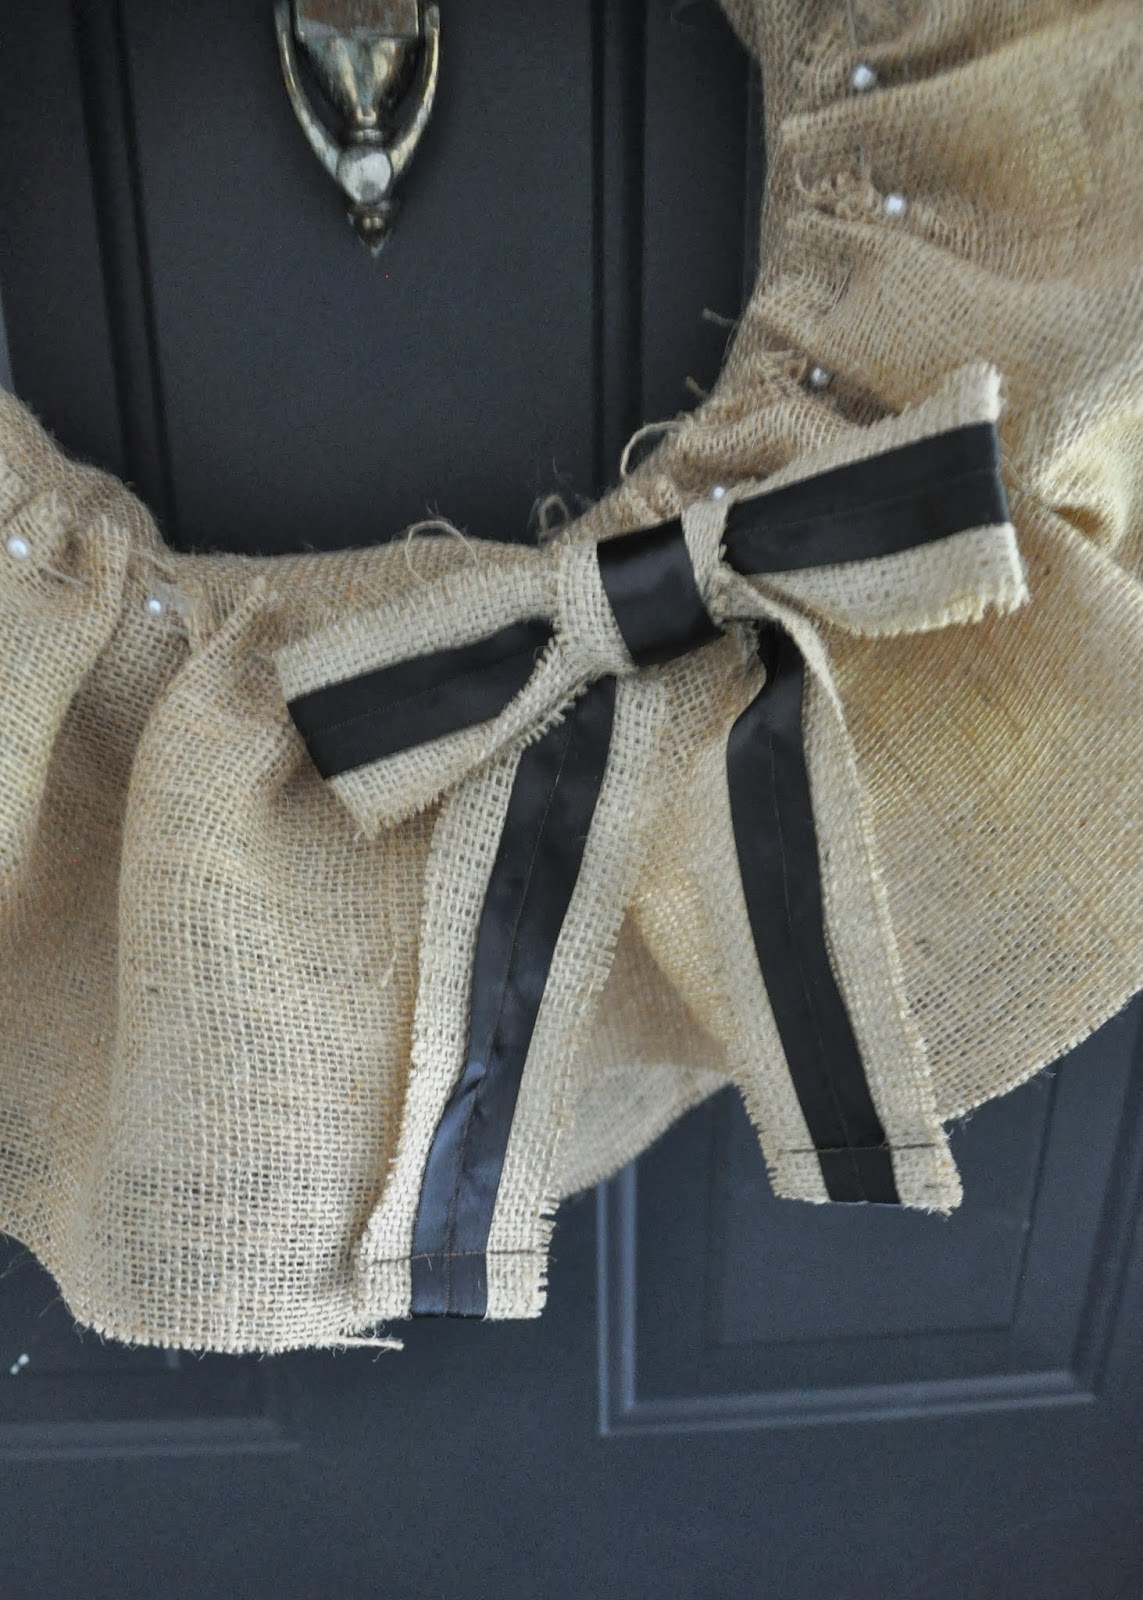
I loosely used this tutorial from Jones Design Company to make it, but I used a bigger wreath form and, consequently, more burlap.  I also had some floral pins on hand from my diy wedding bouquet that I used to class it up about around the ruffle on the front.


As for the little accoutrements, I made the burlap bow a while ago as a fun add-on to a purse.  I basically sewed black ribbon onto the burlap and then tied it into a bow.  And the "Happy Fall Y'all!" I made from a little piece of wood that I bought at Joanns.  I painted it red and then used orange and black paint pens for the letters.  The little bow/flower/thing on the edge is just a bunch of twine wrapped up and tied around the middle that I hot glued on.


The best part is that I made them with safety pins on the back so that I can take them off and re-use the wreath after fall!

So I'm definitely pleased with how it turned out!

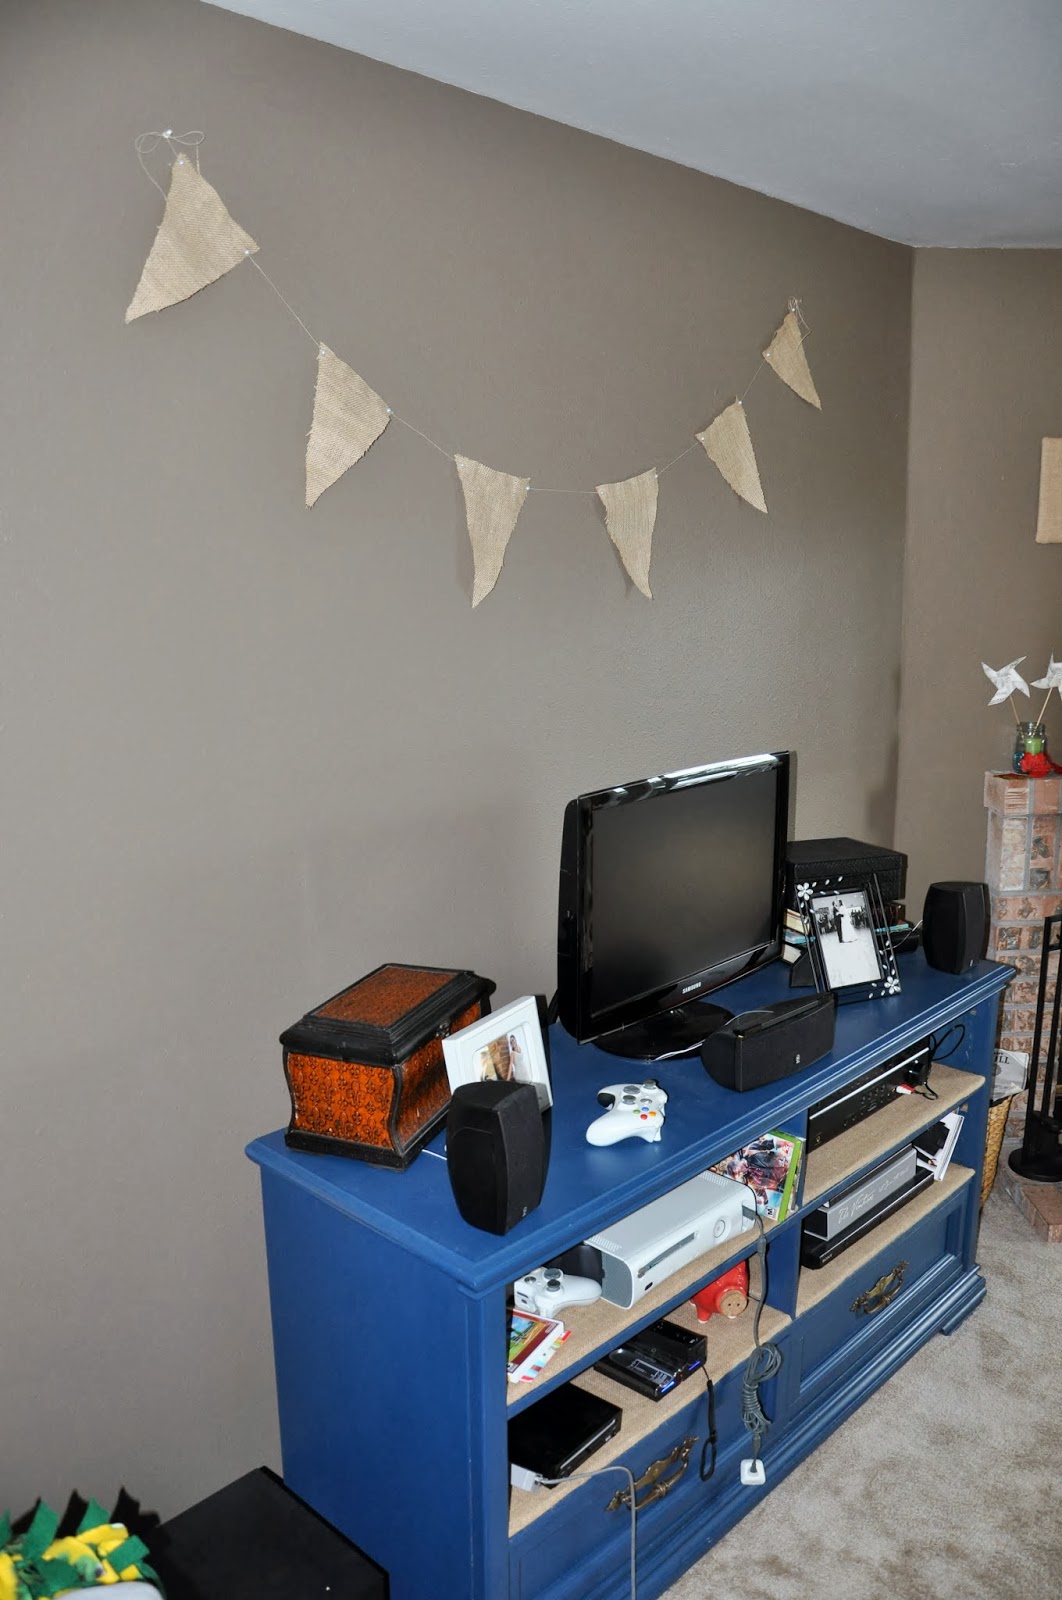
And, while I was at it, I decided to make a bunting banner for above our tv.  The wall just bears so much empty space that I felt like it needed something to make it not seem empty.


It's definitely been a productive day, and I feel so accomplished and revitalized!

Happy Fall Y'all!

Wednesday, September 19, 2012

Tutorial: "FAMILY" Scrabble Tile Wall Decor

I was inspired by this project on Pinterest the other day:

Source
And when I showed it to Chewie, he loved it.  I realized that I had the materials to make an adapted version of it.  So here it is (the tutorial is under it):


Tutorial:

Supplies you'll need are...


not pictured: tape, iron, ironing board, computer/printer
and

I nabbed two foam boards and the brown craft paper from the Dollar Tree a couple of weeks ago.
The boards are cut into 10" x 10" squares.

What to do...


Cover the foam board squares with the craft paper.  You can see how I did mine on the back here, basically how you would wrap a present (one of my favorite parts of Christmas, btw).

Cut six squares of burlap that are bigger than your foam squares.  I just guesstimated on these because I wasn't exactly sure of how I wanted to cover them.  In retrospect, I could have just cut them 12" x 12" for a good fit.  Oh well - I have an idea for the scraps.  Also, for a great tutorial on cutting scrapbook, click here.

At this point I ironed my burlap because it was super wonky.  You can see the before (on the right) and after (left).  It was much easier to work with after it was ironed.

Cut out "FAMILY" and the numbers to make stencils.  By all means, you can make your own, but I thought I'd provide mine for you in the event that you'd like it.  To access the PDF file, click here.  Each page is a 9" x 9" square, but it's the perfect size for printing on 8.5" x 11" cardstock.  I highly suggest using cardstock and not regular paper.  It's much more cooperative.  So download the file and just click print (if you're using the same dimensions [10" x 10"] for your squares).  Also, I used a sharp knife to cut the stencils out, and it worked nicely - just make sure to put something underneath to protect your surface!

Next thing is to paint the letters onto the burlap.  I used black fabric paint from a previous burlap project.  I didn't measure this or anything, just eye-balled it.  I know, I'm super scientific about this.  But, hey, if I can do it, anyone can!  A note - I forgot to get a picture of painting the numbers on.  I just eye-balled that one too - go figure.  Hah.

The hardest part - wait for it to dry.  I painted mine before work and then finished the project when I got home.  However, they were almost dry when I left (about an hour after I painted them).  For added protection, I also ironed them with a paper towel in between the paint/burlap and iron so that it could heat set a bit.  

I used basically the same method to attach the burlap to the foam board as with the craft paper, except I hot glued this instead of taped.  I folded opposing sides first, then cut the corners off and wrapped them over.

An example of the cut corners before wrapping on both of the remaining sides.  I also ended up with little "peaks" in the very corners - I just folded those over and hot glued them down because I didn't love how they looked.  It kinded of rounded the corners, but I like the outcome.

My hubs took this picture - isn't he so artistic???  Anyhow, here's what they looked like once I finished the hot glue step.

The last step, which I didn't really take a picture of, is to arrange them however you want.  I did mine similar to the inspiration picture and just hot glued the overlapping areas.  I'm not sure that hot glue was the best option, but it's all I had on hand (and the glue gun was still hot - haha).  However, it seems like it's going to hold up decently because they're each so light.  

Since we're renters, we're going to use small command hooks to hang it on our wall - I love Command Hooks.  They're perfect for renters.  To do that, we'll probably make small loops on the back of the "F," "M," and "L" and then hang them on the hooks.  

Hope you love it as much as we do!  The whole project took me about 2 hours, excluding paint-drying time. Good luck!


Monday, August 6, 2012

Tutorial: Burlap & Twine Bunting


I whipped up this cutie in about an hour and with supplies I had on hand.  It's now gracing our entertainment center.  Love it.  

So here we go...

Materials:
Burlap
Twine
Scissors
Needle with large eye (not quite yarn size, though)
Hot glue gun
Ironing board & iron (optional)


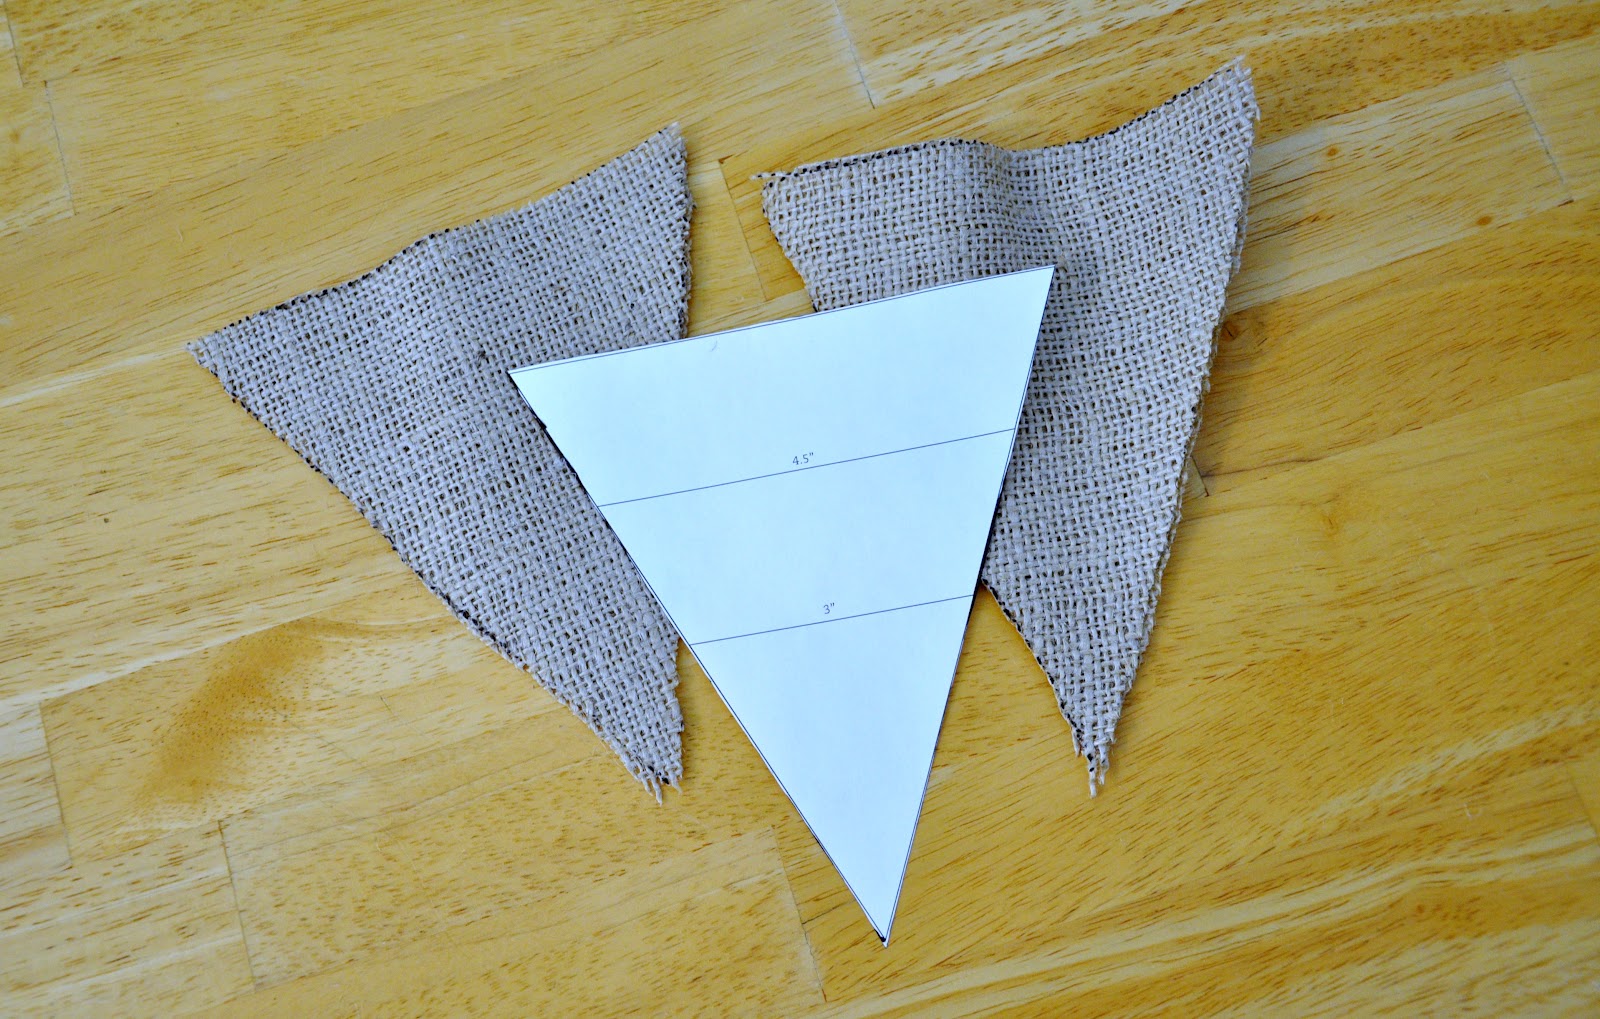
First thing's first, cut out whatever size triangles you'd like to use.  I found this perfect template on Pinterest earlier today and used the 6" size (next to biggest).  I decided I wanted 5 triangles to hang from the twine, so I cut 10 triangles.  This step isn't technically necessary, but I wanted it to look a little more sturdy.


Next step is to hand stitch the triangles together, making 5 total.  If you decide not to make yours double thickness, you can just hand stitch around the perimeter to get the same look.  Personally, I love the look of the twine stitching.


My triangles were quite wrinkly because my burlap stash has been folded up in storage for a while now.  So - if yours are like mine - run a quick iron over them just so they lie flat (mine didn't take much time at all, just a few seconds each).  


Using more of your twine, string the triangle flags together and decide how long you want it to be and how far apart you'd like your flags to hang.  I just eye-balled it because I am too lazy to measure.


Once you figure out how you'd like them to hang, hot glue the twine in place on the back of each flag in the corners.  I'm pretty sure this step can be skipped, but I wanted to make sure mine stayed put.  (PS - I had a fun time figuring out how to take this picture because I'm not left-handed and needed my right hand to click the camera button.)


Last thing to do is hang it!  I used some mason jars, dollar tree glass stones, and candles from one of my bridal showers that we had around our house to hang ours.  Unfortunately, the lighting in our living room is pretty lousy, so I don't have any pics of it hanging from the entertainment center.  I figured the deck out front would do for pictures though.  :)

I might embellish them later on for the different seasons using some velcro so that I can interchange them for each season, but I'm undecided on that.  Either way, it has added a nice touch to our living room!